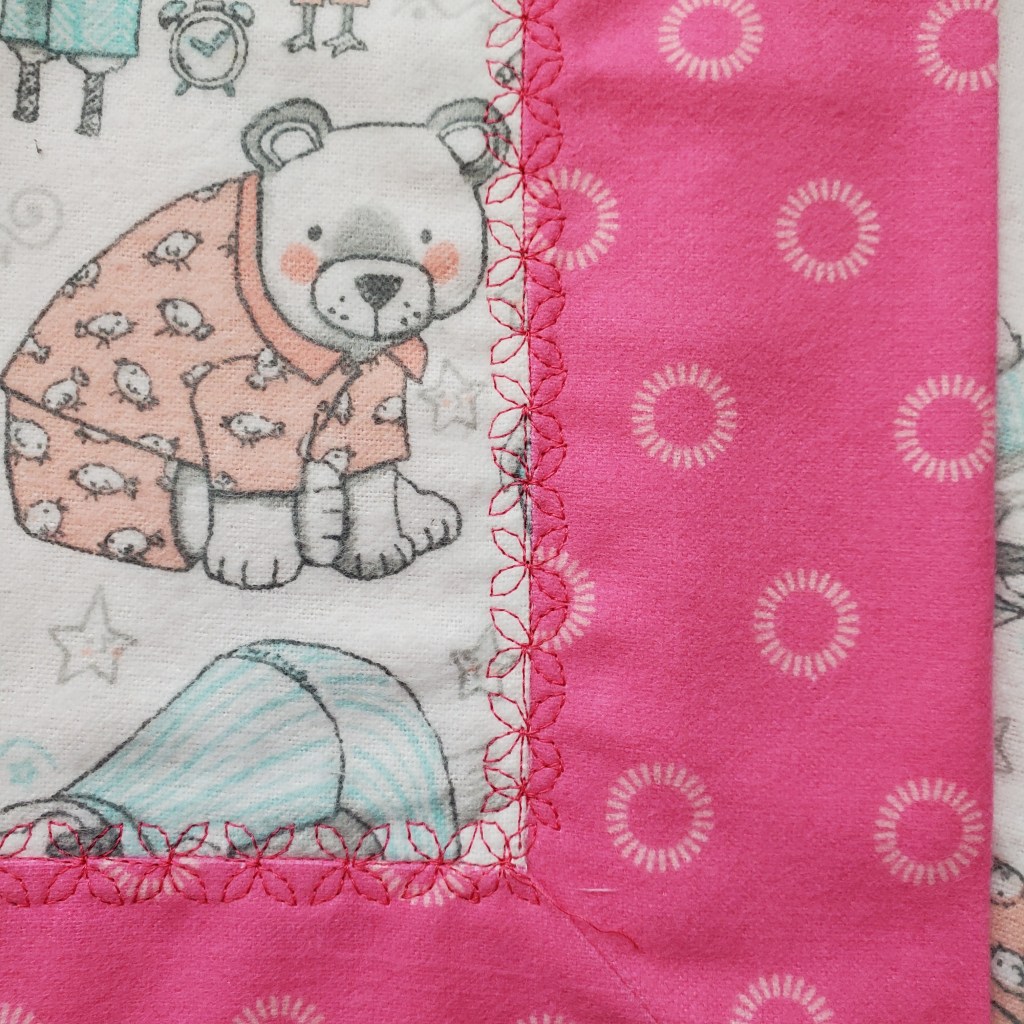
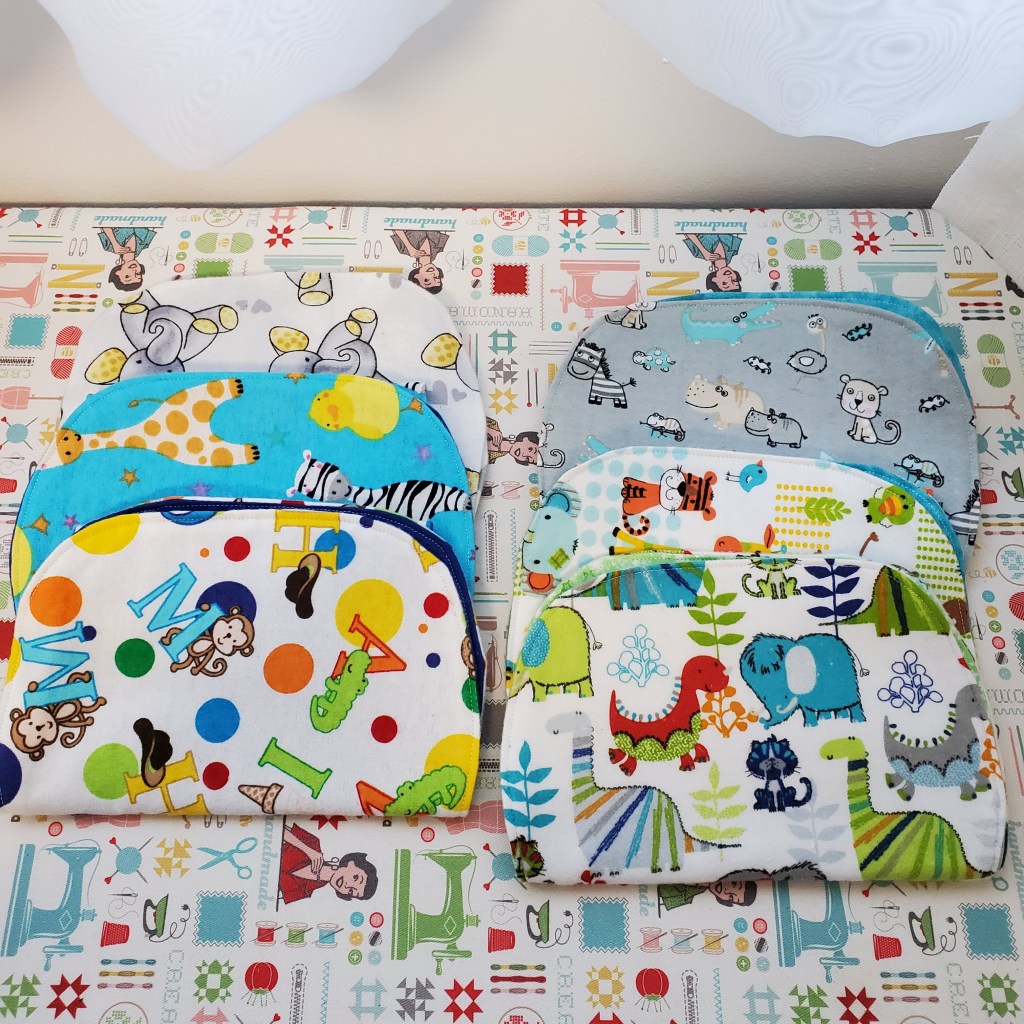
I’ll be honest; I tend to have multiple quilt projects going on at a time. I’m sure most quilters do. It is nice to take a break from one and work on another. Working with different fabrics and patterns breaks up the monotony. And sometimes another sewing project, like the baby blankets, is enough to help. Or maybe I’m like the dog, Dug in the movie “Up,” did someone see a squirrel? Anyway, I have discovered the beautiful world of puzzle mystery quilts. That’s what this week is all about!
Cotton Cuts offers a monthly, pre-cut fabric delivery for the Puzzle Mystery Quilt’s colorway that you choose over ten months. Each month you receive the instructions for the block(s) you will be piecing. The colorways come in two sizes, small or large. What I love the most is that the fabric is pre-cut. All I have to do is open my bag and start to sew the pieces together. Of course, deciding on which color scheme you like is daunting; the last two I have registered for, I have ended up picking two colorways for each puzzle mystery quilt. And one of each size for every one I’ve signed up to do!
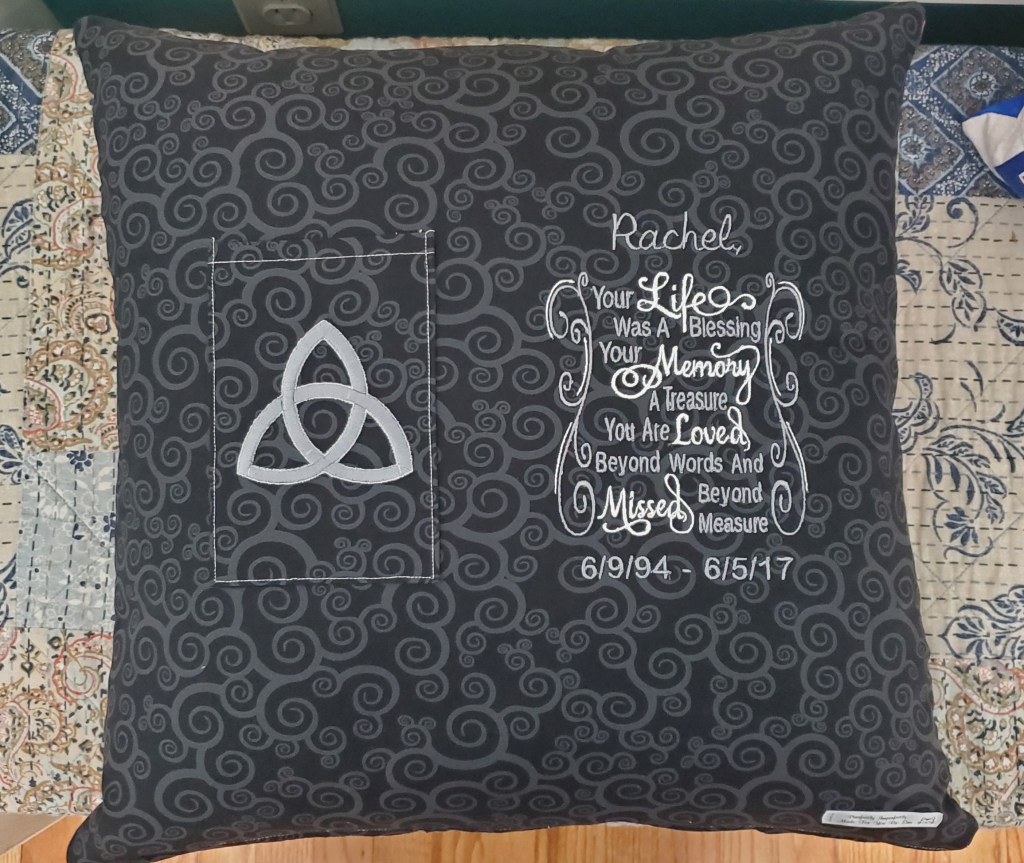
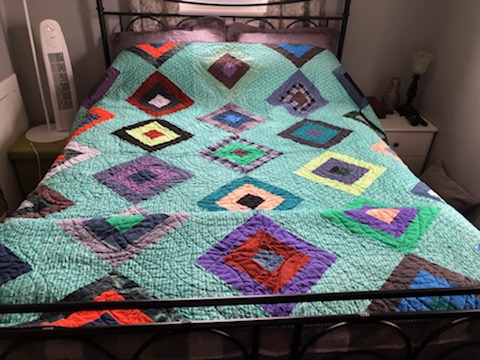
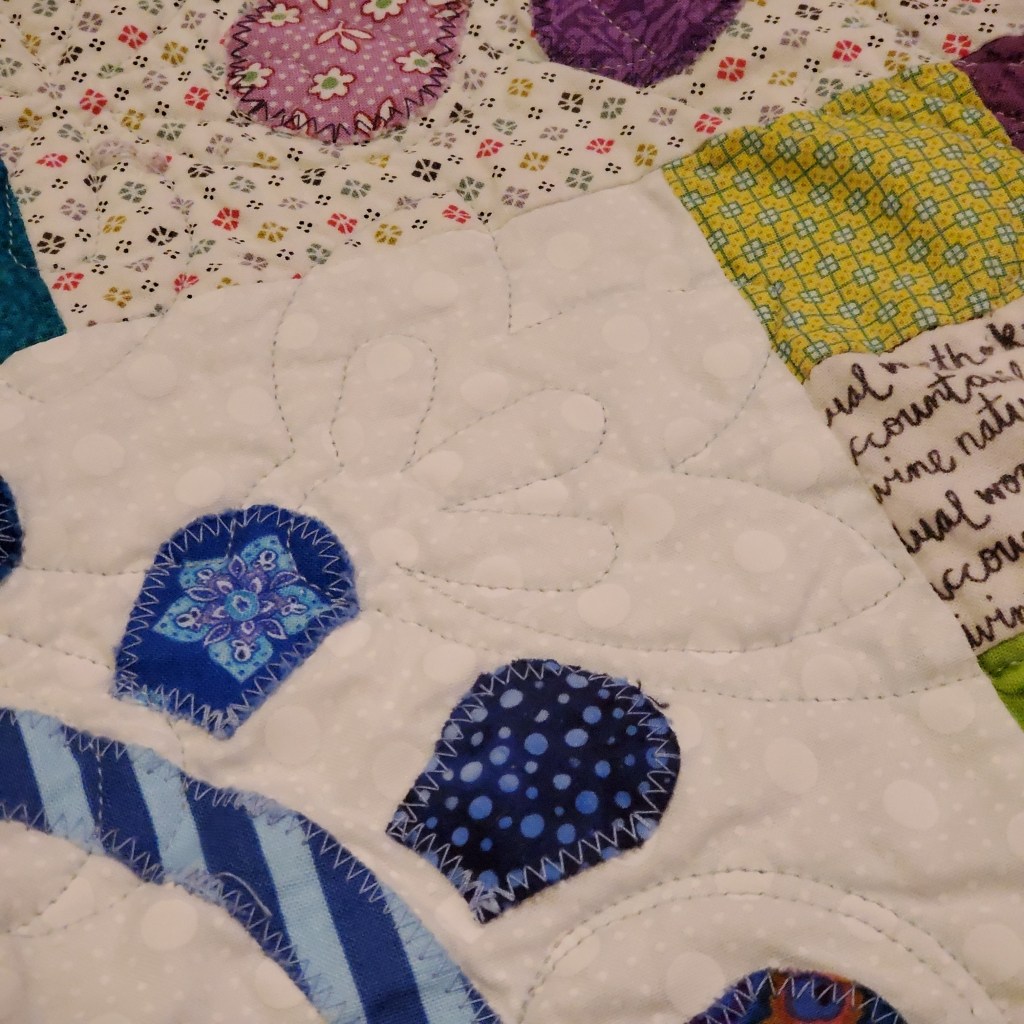
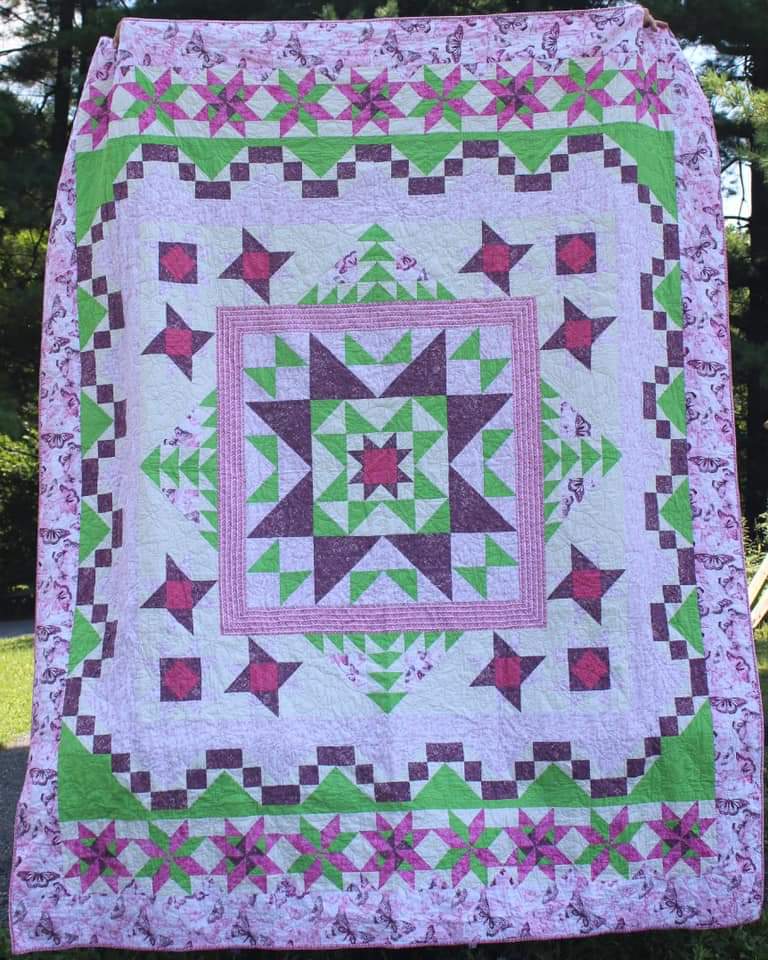
The first time I registered was for Fall 2019, “Cosmos” Puzzle Mystery Quilt. I chose the Team Muriel colorway, blue (my favorite color), and batik fabric (my favorite fabric). It truly was meant to be! I enjoy the mystery part of this program. Not knowing what the final quilt will look like actually gave me something to look forward to. You can try to figure out what it will look like in the end or wait and be surprised. I often find myself checking the calendar in anticipation of when my following puzzle pieces will arrive. Before I finished, I ended up gifting it to some friends of ours. This one turned out so beautiful, I initially thought that I should have kept it for myself, but I know the recipients appreciated the gesture, love it, and use it ALL the time!
The following season they offered a Puzzle Mystery Quilt called “Are You Game.” I chose two different colorways for this round, Team Chess (large) and Team Labyrinth (small). Believe it or not, these already have people they are going to. They will ultimately end up in Texas! I love the soft grays and blues in the Team Chess colors and the bright colored batiks, (yep I said it, more batiks) in the Team Labyrinth colors. I chose from one spectrum to the next. The exciting part is the pattern will be the same. The only difference is one will be large, and one will be small. The large will have more blocks or a border to expand/build on the size.
My current Puzzle Mystery Quilt is called “Sparkle & Shine,” and couldn’t we all use a little of this these days! Again I chose two of the colorways, Team Amber (large) and Team Topaz (small). Team Amber is all batiks again, and this shouldn’t surprise anyone. I’m sure you see the trend here. Team Topaz has beautiful teal blues, a pop of deep pink, and a cream. Neither of these has “homes” yet. I am sure I will find just the right people to bestow them. I may end up keeping the Topaz one for myself. We will see!
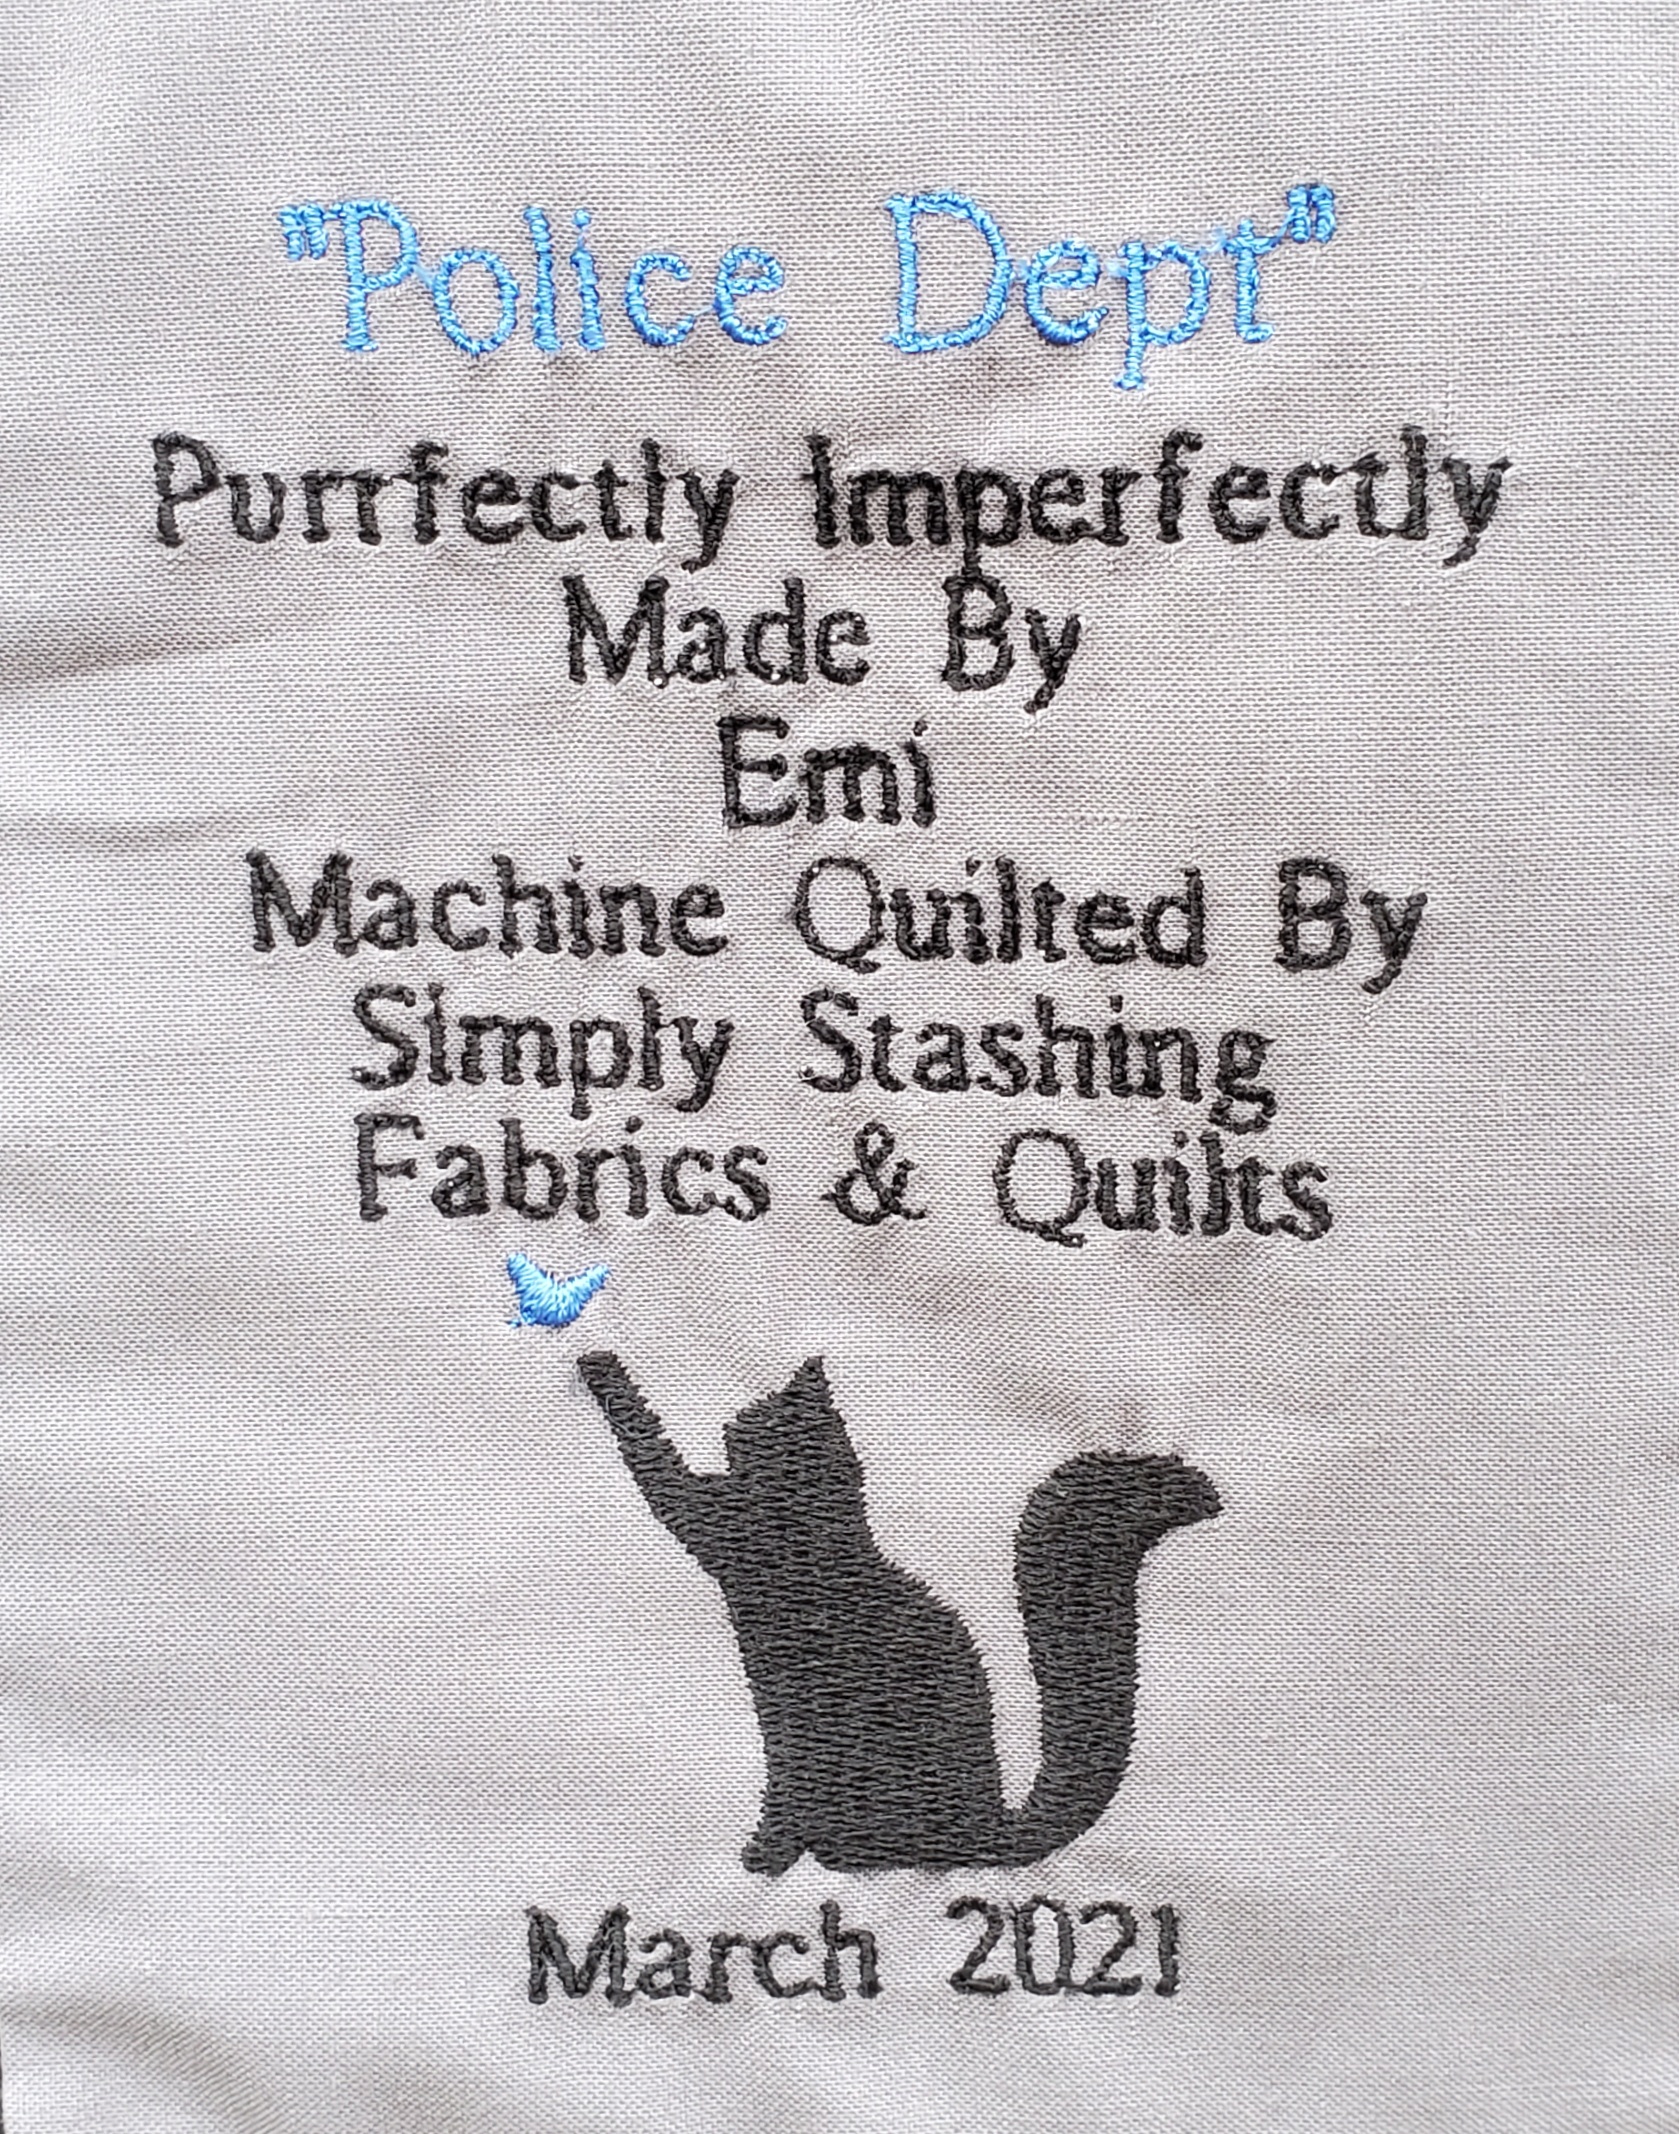
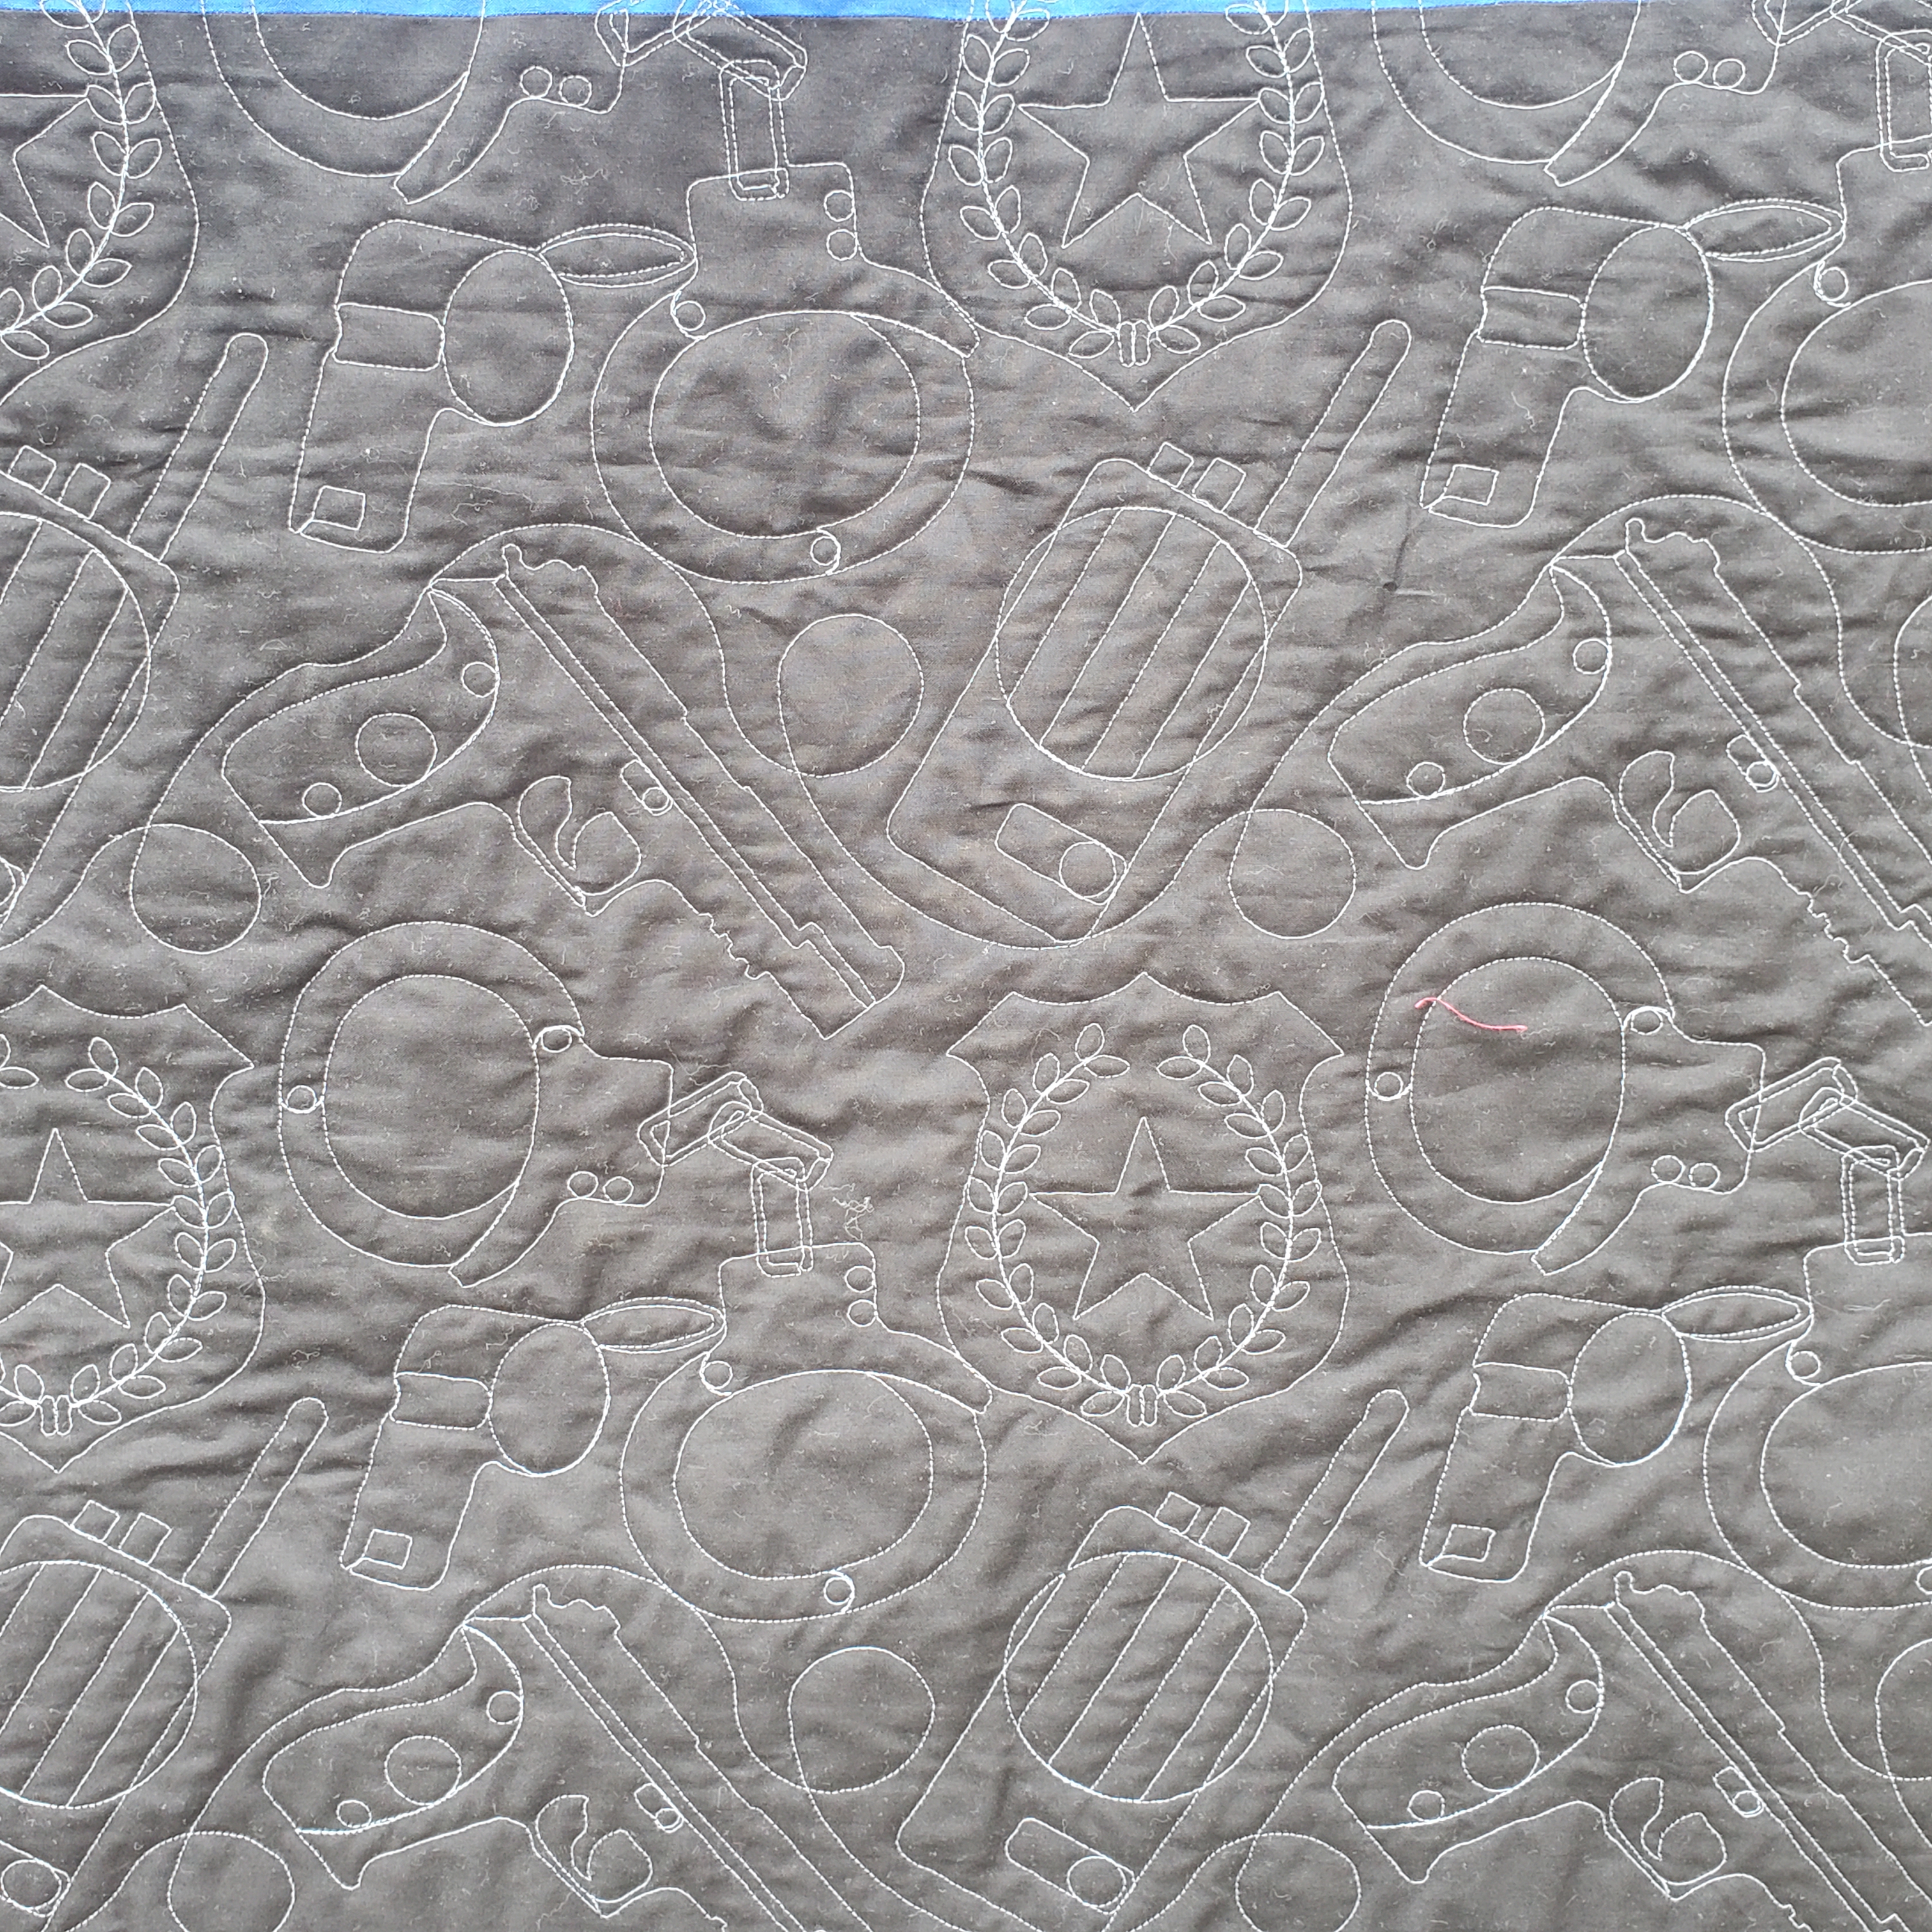
Did I mention I am working on “Are You Game” and “Sparkle & Shine” in tandem? There is only one month left for the “Are You Game,” so next month, I will get the final puzzle pieces for the last block(s) and the directions to piece the whole thing together! Once done, they will get dropped off at Simply Stashing Fabrics and Quilts to get longarm quilted. Then I can embroider labels, attach the binding and send them off to their new homes!
For those looking for a new hobby, this Puzzle Mystery Quilt “thing” is a great way to start quilting. Simple, easy-to-use directions and pre-cut fabric to boot! All you need is a sewing machine, and you are on your way to making your first quilt! And if you still are not sure, my door is always open; come on over. I would be happy to lend a hand and encourage you.


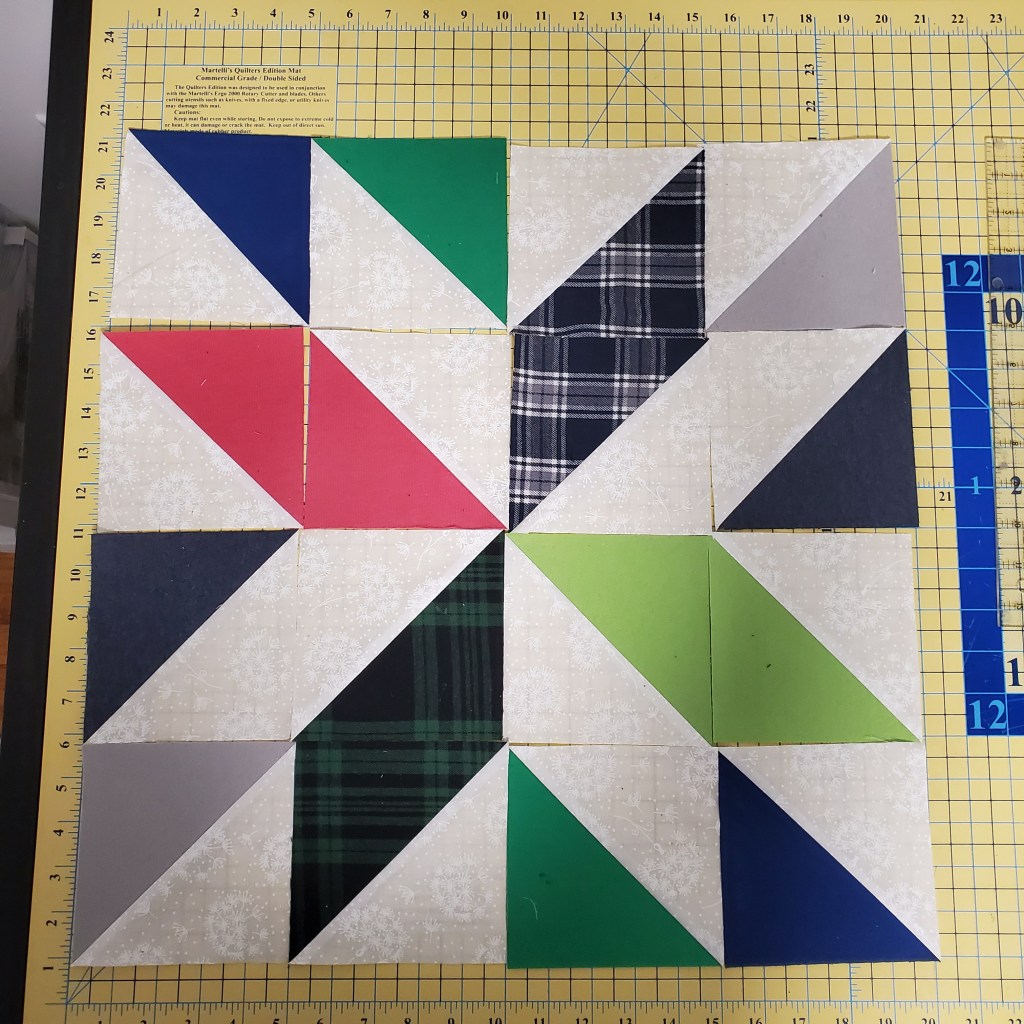
Team Chess “puzzle” pieces for a block 

Team Topaz “puzzle” pieces for a block 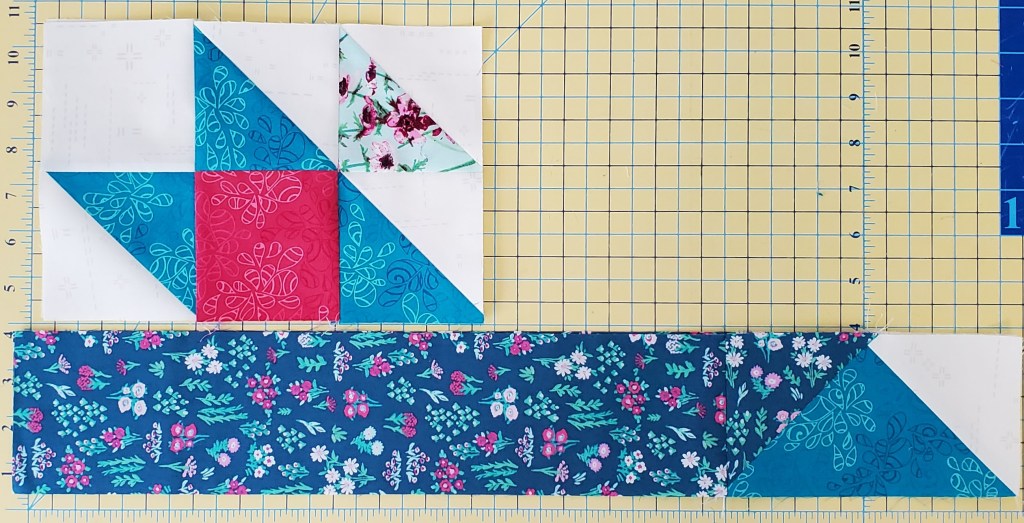
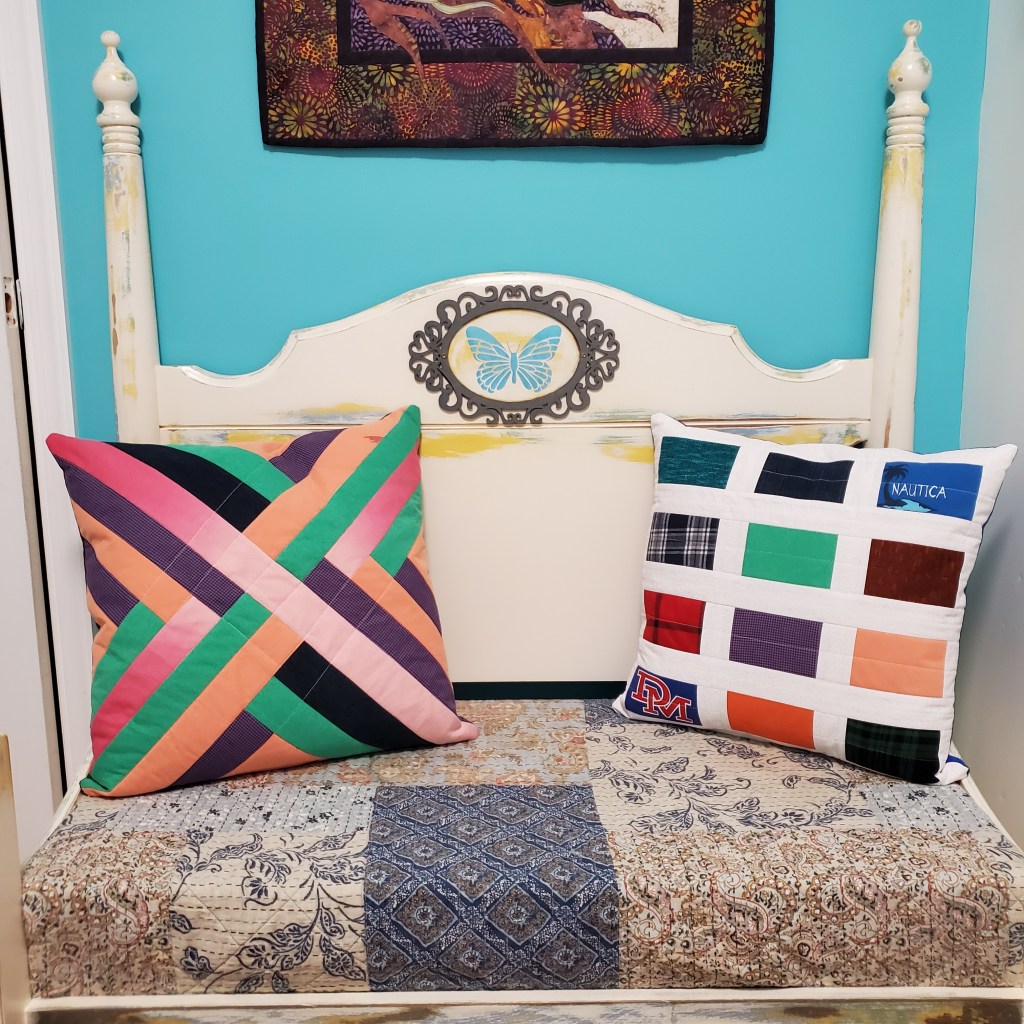
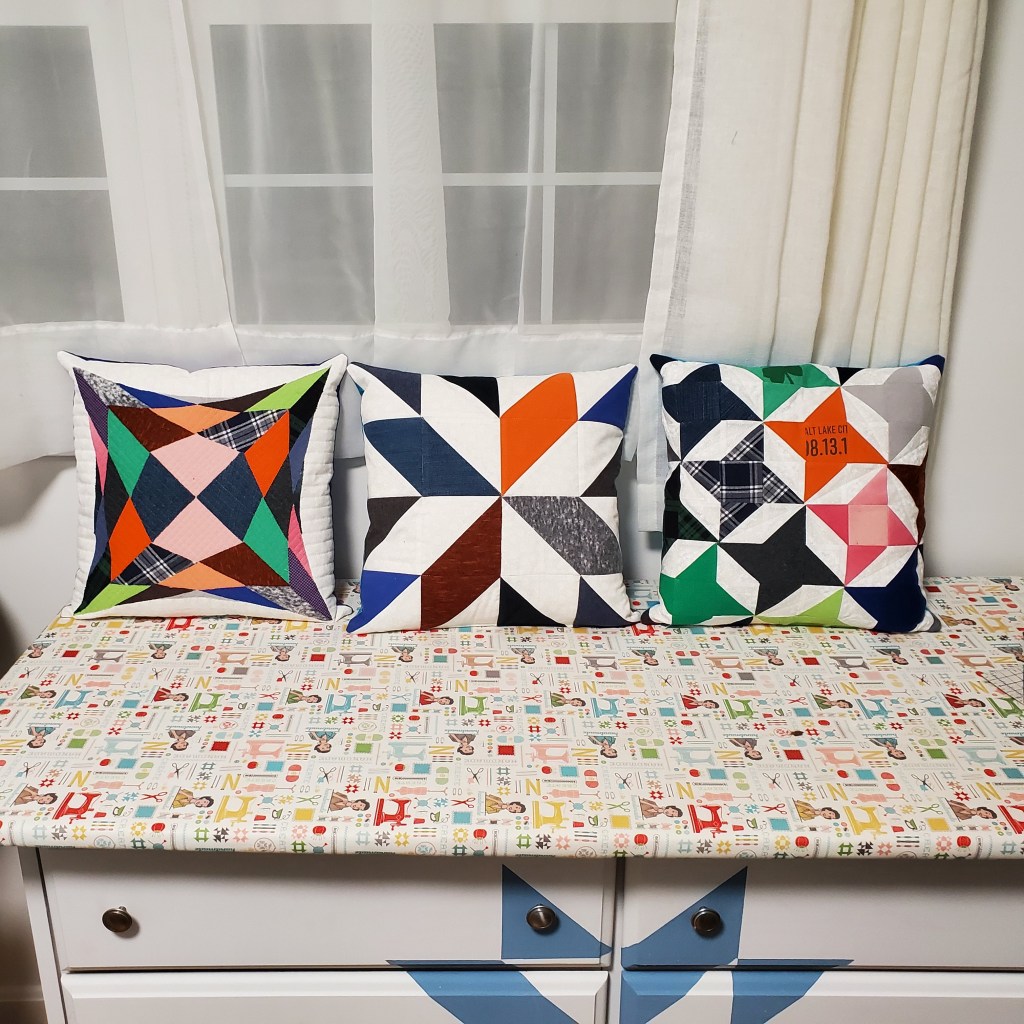
Team Topaz block 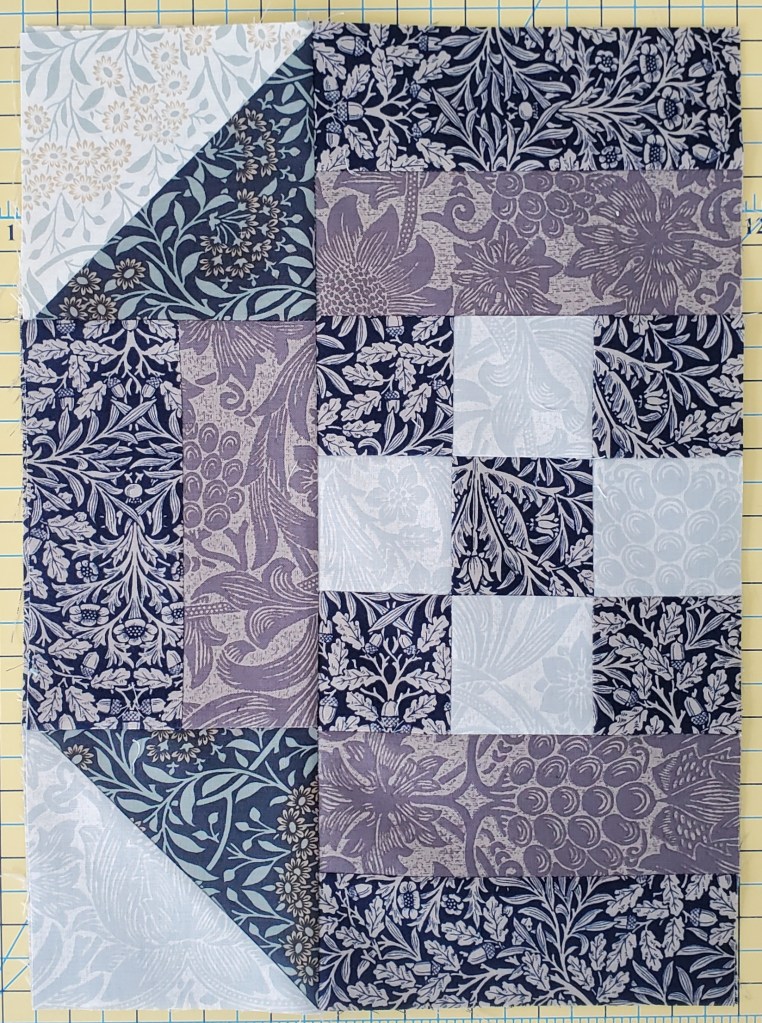
Team Chess block 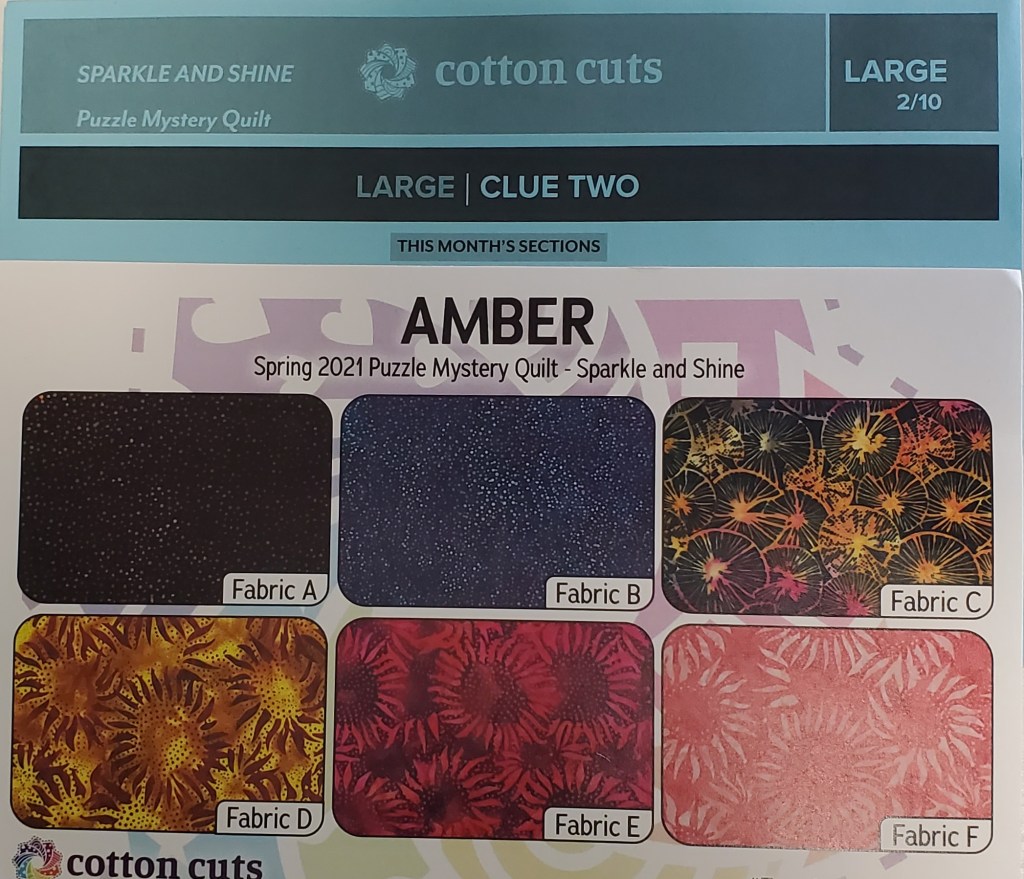
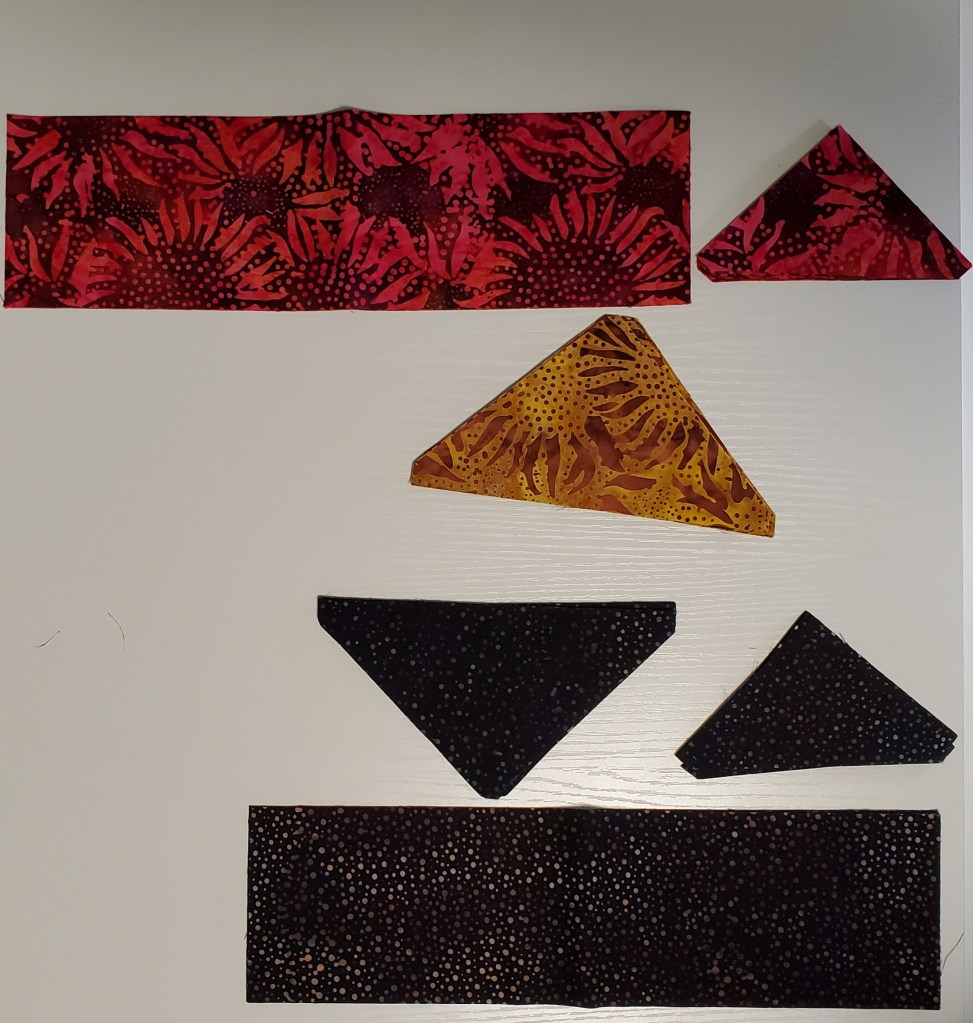
Team Amber “puzzle” pieces 
Team Amber 2 part blocks 
Team Amber block 
Team Topaz 2 part blocks 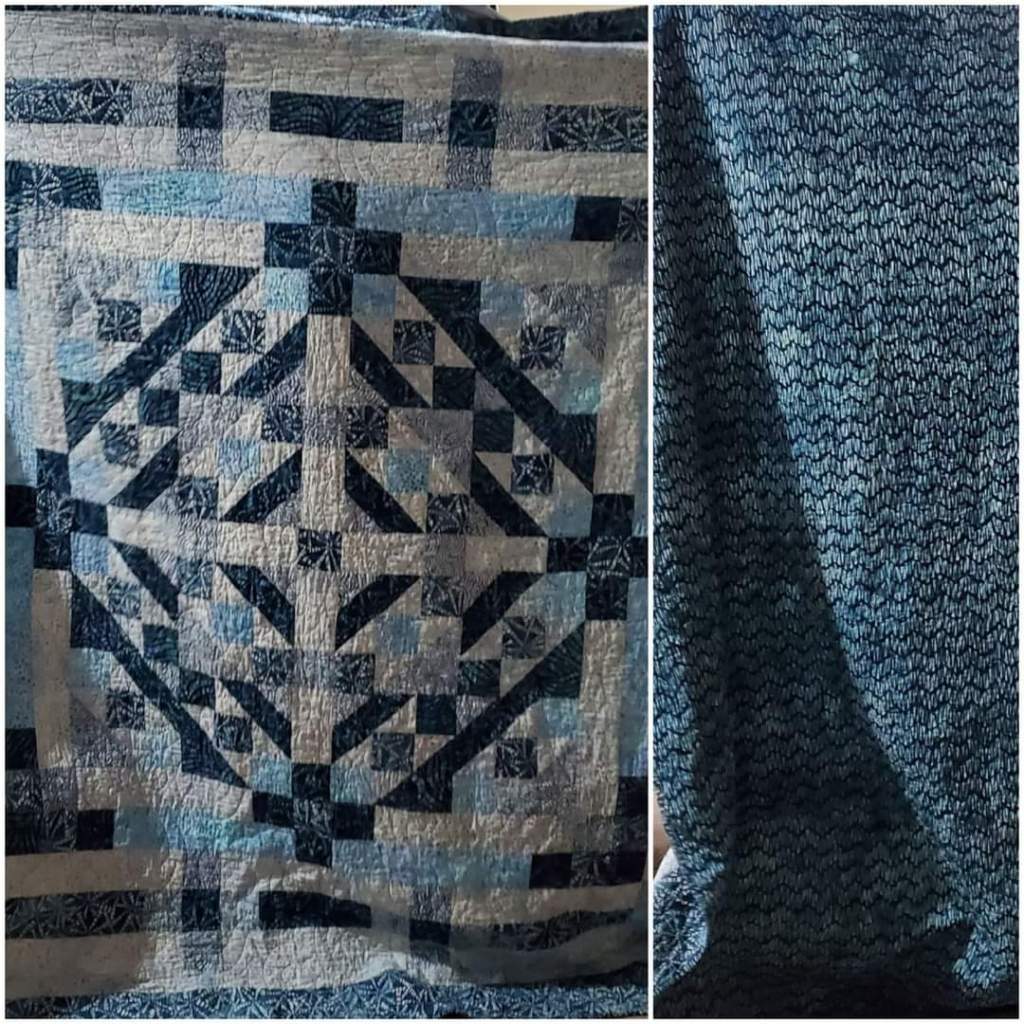
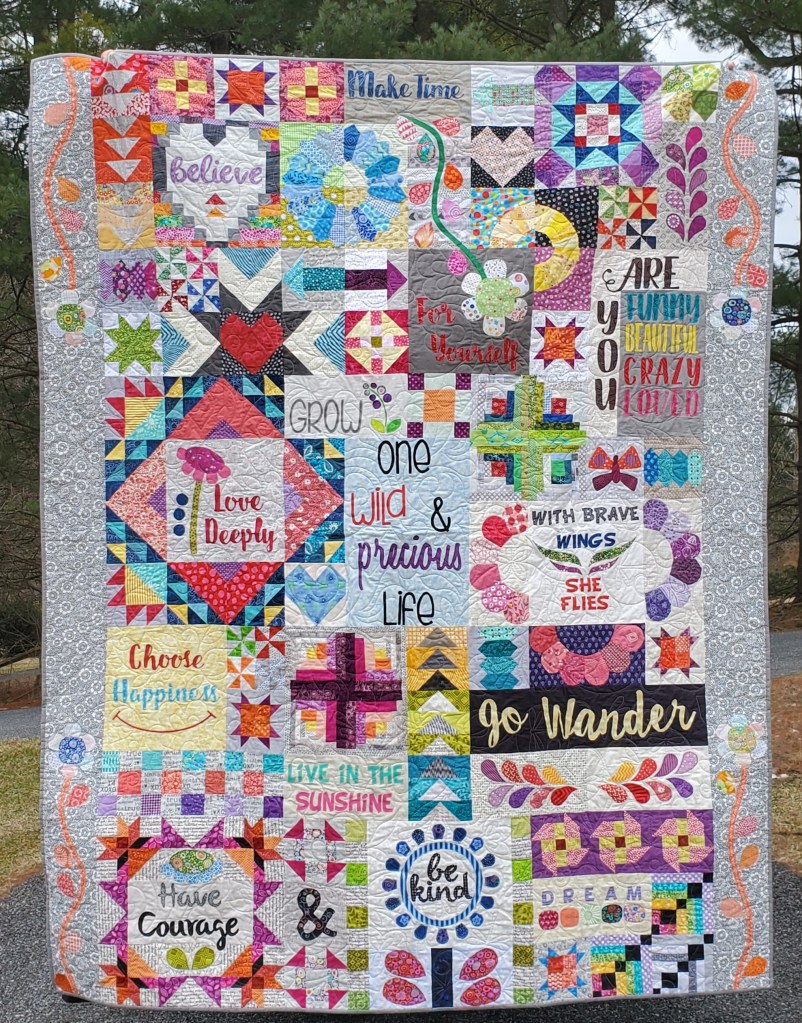
First puzzle mystery quilt – “Cosmos” 
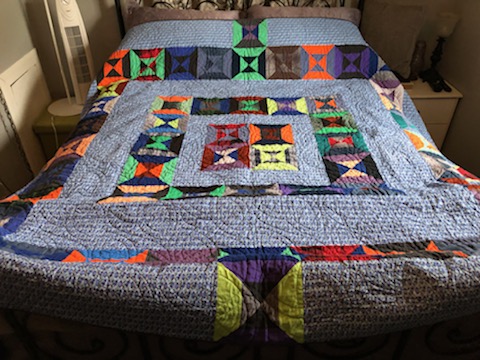
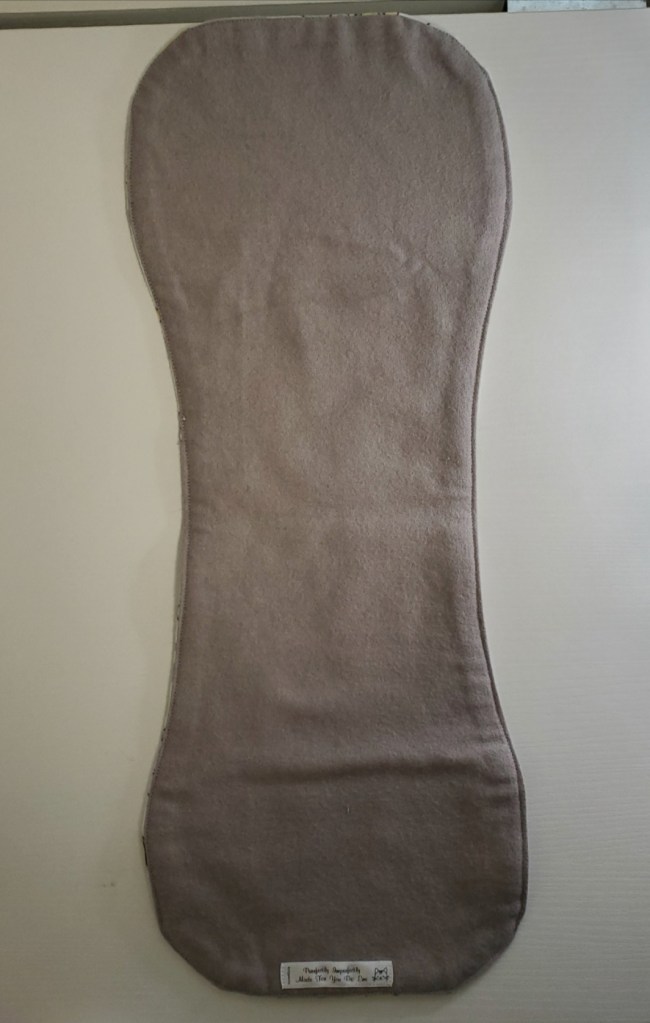
Back of “Cosmos” 
Team Labyrinth block 
Team Amber block